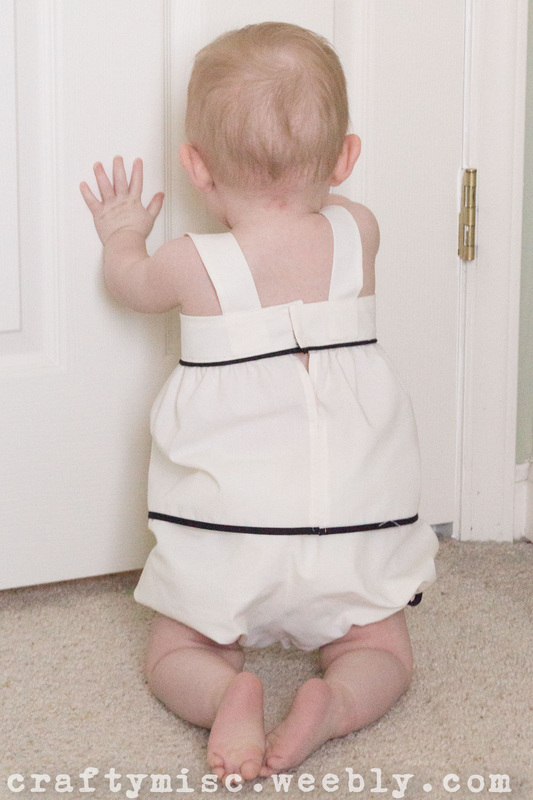
I've done it--attempted to create an actual real-live outfit. I worked with care, I measured and re-measured. I was super-careful to make beautiful straight seams. I added some bias-tape trim, taught myself all about piping. And the end result:
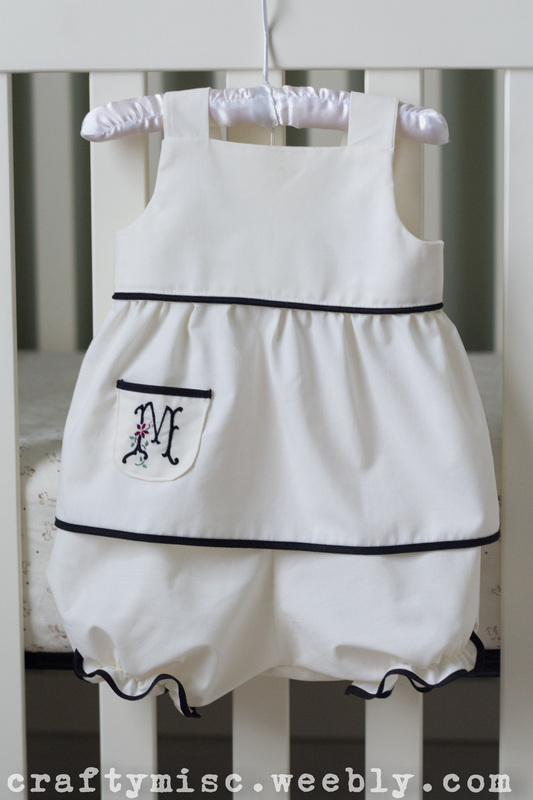 |  |
Pretty, no? A nice, smart little outfit. Only there's one itsy, bitsy, teensy, weensy problem....
It doesn't fit.
I didn't have this problem in my previous projects, because I didn't plan them to fit--they were all intended for her to grow into. So where did I go wrong?
1. EASE--"wearing ease" is basically the difference between your body measurements and the minimum amount of room you need to comfortably wear a garment. Hint: This number has to be more than zero (d'oh). In hindsight this seems obvious--I blame the violent stomach virus Baby Girl had last week and the resulting lack of sleep! Here is a great resource all about ease from Craftsy.com
2. BABIES GROW FAST--I think someone must have smacked me with the idiot hammer, because I missed this one too. I had actually built in an extra inch of room (though I considered it "oops" room, in case my stitching went crooked, rather than "ease"), but I failed to also take into account how long it would take me to sew it. What little ease I had disappeared in the three weeks it took to get this thing put together.
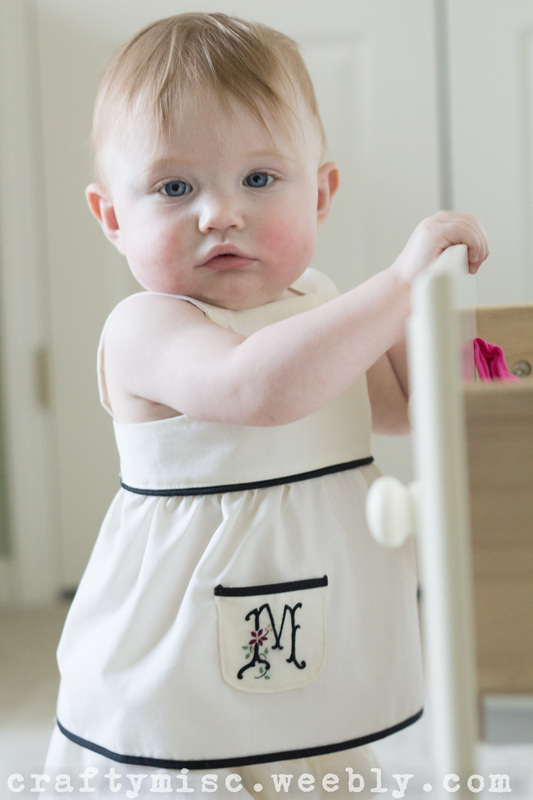
Fortunately, I was able to wedge Baby in for a few photographs, but I think that's the beginning and end of this little outfit.
On the bright side, I think a lot of things worked with this little outfit, and I think I want to try again--though probably not right away.
1. EASE--"wearing ease" is basically the difference between your body measurements and the minimum amount of room you need to comfortably wear a garment. Hint: This number has to be more than zero (d'oh). In hindsight this seems obvious--I blame the violent stomach virus Baby Girl had last week and the resulting lack of sleep! Here is a great resource all about ease from Craftsy.com
2. BABIES GROW FAST--I think someone must have smacked me with the idiot hammer, because I missed this one too. I had actually built in an extra inch of room (though I considered it "oops" room, in case my stitching went crooked, rather than "ease"), but I failed to also take into account how long it would take me to sew it. What little ease I had disappeared in the three weeks it took to get this thing put together.
Fortunately, I was able to wedge Baby in for a few photographs, but I think that's the beginning and end of this little outfit.
On the bright side, I think a lot of things worked with this little outfit, and I think I want to try again--though probably not right away.
 |  |
Click thumbnails below for full image:


Construction:
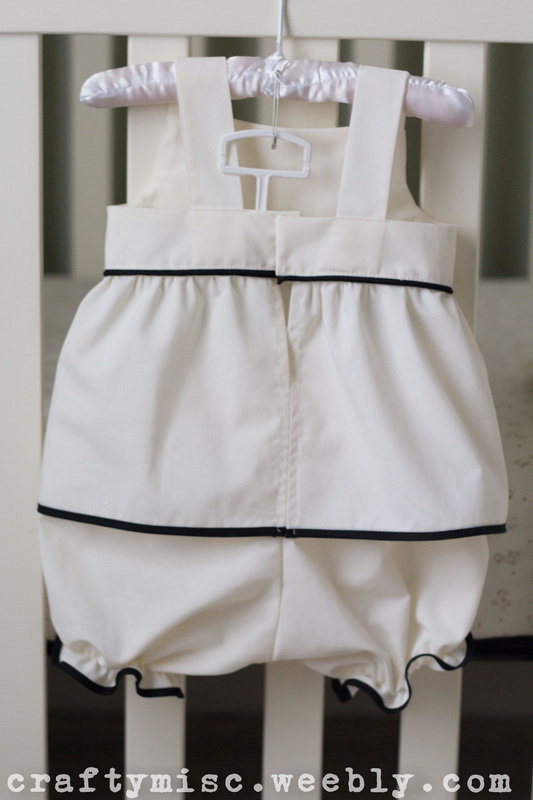
I liked the idea of a low back, as opposed to the nightgown I'd been making so far, so when I saw this dress over at Craftiness is Not Optional, I thought it was pretty perfect. I love the look of it, and Jess (the author) provides detailed instructions with TONS of pictures. It's a sundress, and I already explained about Baby-Girl's hatred for sundresses--so I decided to use the general idea but make it into a top and add bloomers.
I made quite a few changes.
1. One was obviously the length, since it was a top instead of a dress, but I also decreased the width of the "skirt" fabric so there would be less gathering. I didn't want it to hang to the ground and get in the way of her crawling.
2. I added some black piping. It was really easy, and I learned how from this great tutorial from over at Makeit-Loveit.com. Then I added some black bias tape around the hem.
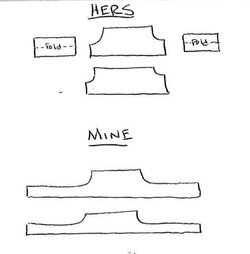
3. Instead of cutting out 4 pieces to make the chest band, I just cut out two big ones (see image on right). It seemed easier--two pieces to cut instead of four, fewer seams (one instead of five), less pressing, etc.
4. I used hook and eye instead of buttons. My machine has an automatic botton foot, but unforunately it's possessed by the devil. You may notice on the back of my blue bustled dress that the buttons are wonky. This is because the button-holer jammed a half-dozen times, and chewed the fabric all up, so I had to adjust the placement of the buttons because the poor fabric was so mangled. I'll go back and try it again one day, but this was not that day!
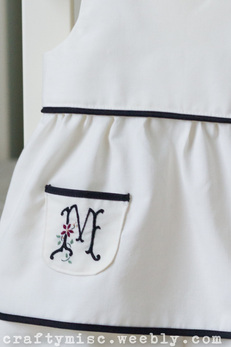
5. I added a monogrammed pocket.
1. One was obviously the length, since it was a top instead of a dress, but I also decreased the width of the "skirt" fabric so there would be less gathering. I didn't want it to hang to the ground and get in the way of her crawling.
2. I added some black piping. It was really easy, and I learned how from this great tutorial from over at Makeit-Loveit.com. Then I added some black bias tape around the hem.
3. Instead of cutting out 4 pieces to make the chest band, I just cut out two big ones (see image on right). It seemed easier--two pieces to cut instead of four, fewer seams (one instead of five), less pressing, etc.
4. I used hook and eye instead of buttons. My machine has an automatic botton foot, but unforunately it's possessed by the devil. You may notice on the back of my blue bustled dress that the buttons are wonky. This is because the button-holer jammed a half-dozen times, and chewed the fabric all up, so I had to adjust the placement of the buttons because the poor fabric was so mangled. I'll go back and try it again one day, but this was not that day!
5. I added a monogrammed pocket.
The Pocket
A while ago, I stumbled across the blog Needle 'n Thread, by Mary Corbet and was completely blown away by her surface embroidery. The woman is a genius, a complete master of her craft. She gives pointers to problems I am not nearly sophisticated enough to have. I don't do a lot of surface embroidery (hardly any, really), but I LOVE following her blog and seeing what she's up to.
In any case, of the many things available on her blog, are free monogram patterns and tutorial videos on different stitches. I decided to give it a shot and make a monogram for Baby Girl's little outfit.
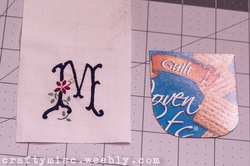
I decided to put it on a pocket, because if I messed up, I could just start again on a different scrap of material until I got it right (you can see in the picture below, it took me a couple tries, so it's a good thing I did!).
In any case, of the many things available on her blog, are free monogram patterns and tutorial videos on different stitches. I decided to give it a shot and make a monogram for Baby Girl's little outfit.
I decided to put it on a pocket, because if I messed up, I could just start again on a different scrap of material until I got it right (you can see in the picture below, it took me a couple tries, so it's a good thing I did!).
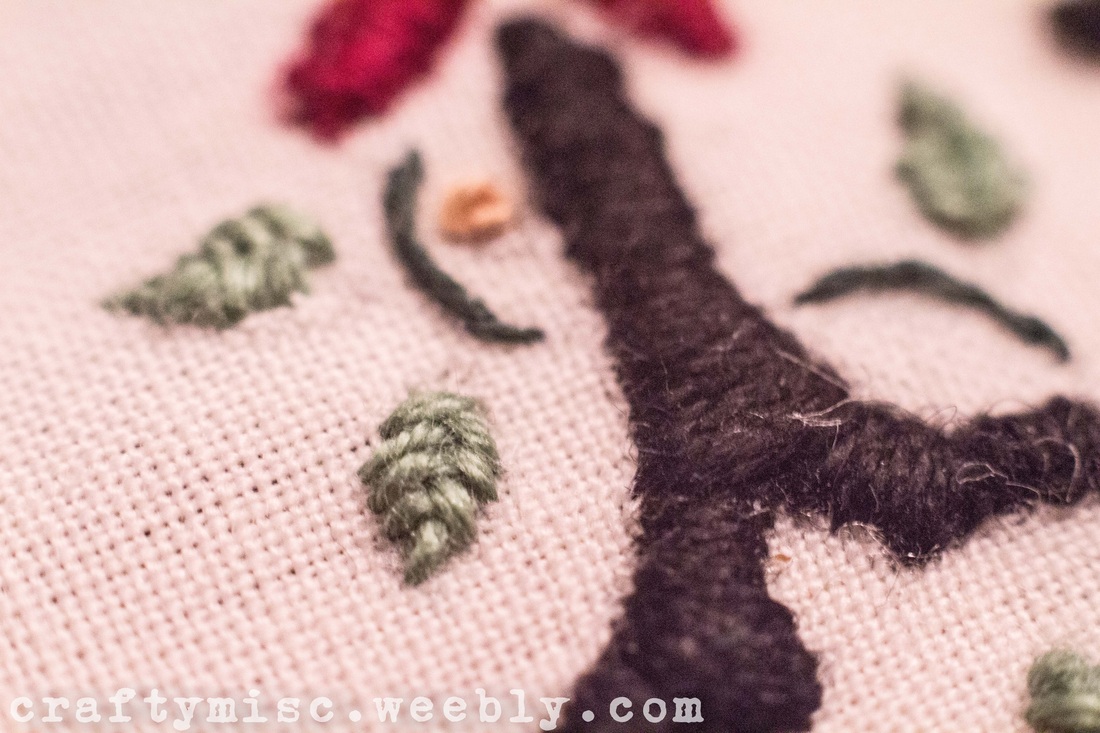
| I traced the monogram onto one of the bigger fabric scraps with a mechanical pencil. I used a padded satin stitch on the letter and the flower petals, a stem stitch on the vines, a fishbone stitch on the leaves, and french knots for the parts in yellow. 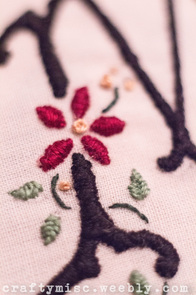 | 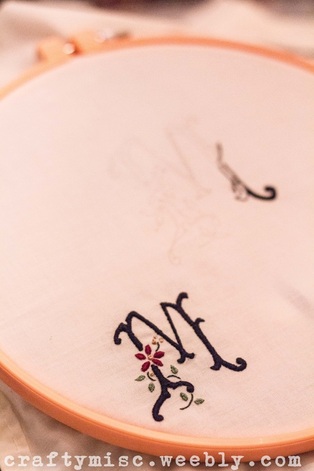 You can see my first attempt in the back. |
Click thumbnails below for full image:


To create the actual pocket, I followed this tutorial over at Elegant Musings. Pop on over to get detailed instructions, but basically you cut out a cardboard pattern to press your edges around. THIS WAS A LIFE SAVER. Even with her helpful tips it took me a while to get everything tucked properly.
I wanted to cover the back of the embroidery (so if you stuck your hand in the pocket, you wouldn't feel the strings), so I made the fabric twice as long as it needed to be and folded it in half. So basically the pocket was a double layer of fabric. I also added a bit of bias tape along the top to match the rest of the outfit. Other than that, I followed the tutorial, and it turned out pretty well, I think.
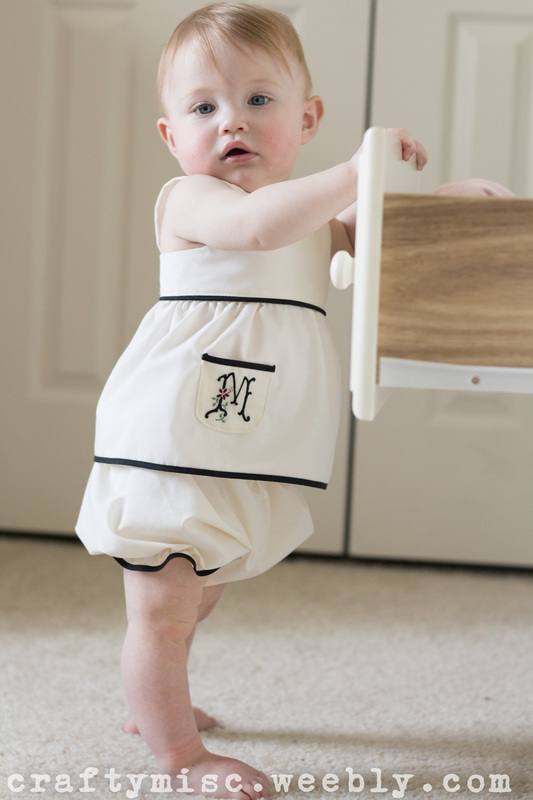
The Bloomers
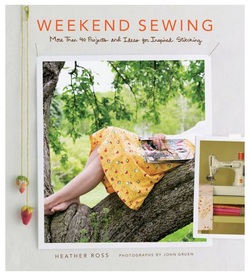
For the bloomers, I used the pattern in Weekend Sewing by Heather Ross. Again, I added the little black bias tape trim. I can't remember for sure, but I think she uses elastic to close the leg holes, but since I wanted the trim to show like a little ruffle, I used elastic thread and shirred it. In hindsight, I would do a couple things differently. For one, I used Dritz brand elastic thread, which ended up being really "sharp" feeling--not good for little baby skin. I have since learned that Guterman has a much nicer end result. I also would do two rows of elastic, so it is stronger and more puckered, and I think that would make it feel nicer on the leg since the thin elastic would be under less stress. It would only take a few moments to pull out the elastic and do it again (me and my seam-ripper are best buds at this point), but since the top is already too small for Baby-Girl, it's not worth it. I could make a new top, since the bloomers fit fine--but that's the problem with using old pillow cases for fabric--you can't get any more!
 RSS Feed